Showing posts with label Christmas. Show all posts

Friday, December 19, 2014

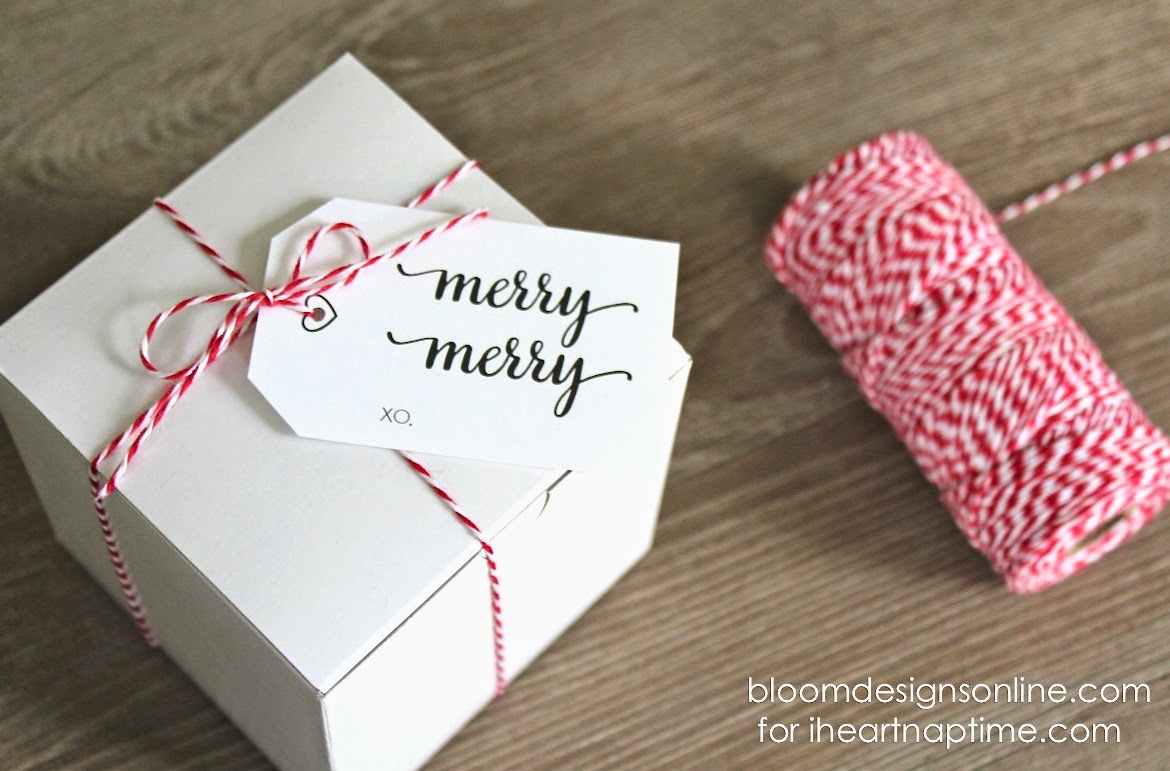
Friday Favorites: Christmas Gift Tags & Printables

For some reason, Christmas really snuck up on me this year...who am I kidding, it does that every year!!  My actual Christmas shopping is done, but the actual get your presents wrapped has not been completed and the mound in my closet needs to be addressed ASAP!!!  Over the past few weeks, I have seen some really cute gifts tags and printables for your presents on Pinterest and some of the blogs I follow.  I wanted to spruce up some of the presents with a pretty tag or two and would like to share some of the ones I found with you all!

Kristin at Yellow Bliss Road: 

SOURCE
I think Cindy at Skip To My Lou made the cutest ones for kids: 

SOURCE
Tori at Lil Mrs Tori made an adorable holiday party pack:

SOURCE
These gift tags are super cute and simple AND they come in two colors:

SOURCE
Although these are not printables, the idea of putting festive washi tape on your tags is brilliant! 

SOURCE
I adore these DIY printable bows from The Creativity Exchange.

SOURCE

These holiday mail stripe gift tags are so cute and leave room for a little message if you want:

SOURCE

And of course I couldn't resist a chalkboard gift tag:

SOURCE
I would recommend printing the gift tags on card stock if possible.  I hope you all have a wonderful weekend, we plan on making our gingerbread house with the girls and going to a few more neighborhoods to look at Christmas lights! 

With much love

Kristin 


Follow on Bloglovin

Wednesday, December 17, 2014

DIY Glitter Deer Head Silhouette

I have been seeing a lot of deer head silhouettes on Pinterest lately and it has definitely brought on the desire to try it out.  I haven't worked much with glitter, but I really loved how it turned out and it has the wheels spinning for a ballerina silhouette for the girls' room.

I already had the glitter and glue, but did need to purchase the canvas.  I waited until they went on sale at Hobby Lobby for 50% off and snagged a 12x16 sized canvas.  I printed off this deer silhouette and cut it out to trace onto the canvas.  My original plan was to paint stripes on the canvas, but in the end the stripes did not come out crisp enough so I ended up just painting the entire canvas solid blue.


Here is a list of the supplies I used for the project:
  • 12x16 canvas
  • deer head silhouette
  • DecoColor liquid gold pen
  • gold glitter
  • Mod Podge (Elmer's glue would work just as well)
  • Small paint brush (for the glue)
  • Clear enamel spray paint 
  • Paint for canvas (optional)

The picture above has blue painter's tape and a level, which was used to do the stripes that were painted over since I didn't like how they turned out.  Really sad about that because I really, really wanted to do stripes.  The paint I used was oops paint from Lowe's and it didn't have the name on it, but it was the prettiest blue and for $5.00 I had to have it!

So step one was to paint the canvas with three coats of the blue paint.  Once that was dry, I took my cut out of the deer head silhouette and traced it onto the canvas using my liquid gold marker.  Next step was to coat the inside of the outline with glue.  I did this part in sections cause I was worried the glue would dry.  I coated part of the deer head in the Mod Podge and then sprinkled with the glitter.  I let it set for about a minute and then shook off the excess onto a paper towel.  Then I would repeat the process until the silhouette was completed.  Once I was all done, I checked for any spots that needed to be touched up and then gave it a light spray of the clear gloss enamel, which helps give a little protective layer.


Both pictures (canvas and the framed Lindsay Letters printable) will be going in the downstairs bathroom on the shelf, but the lighting isn't as good in there so I placed them on the mantle just for the picture.

I am really loving how it turned out and thinking of a new place for it after Christmas because I think it is too pretty not to keep out!!!  

Check back on Friday for some of my favorite gift tags that I have been seeing on Pinterest and the blogging world!!  This weekend will be time for me to start wrapping the presents, finally, and I can't wait to use some of the printables!!  

With much love, 

Kristin 


Follow on Bloglovin

Linking up with:

Dwell Beautiful
Thrifty Decor Chick
tatertots & jello

Monday, December 15, 2014

DIY Christmas Card Holder

Hey there!!  Hope you all had an excellent weekend and your week got off to a good start.  Our weekend was fairly relaxing and actually able to get a few little projects completed, while the girls enjoyed playing outside.  One of the projects was making a Christmas card holder, which was definitely a must since the cards are starting to arrive.  I must say, I love checking the mail around this time of year and seeing the cards and pictures from our family and friends.

I wanted to make a Christmas card holder that was simple, easy, and didn't require a lot of effort, but I wanted it to look cute of course!  In the garage, we had a scrap piece of maple plywood from the office cabinets (which are still in progress by the way) that was slightly under three feet tall.  I knew I wanted to paint it with chalkboard paint, my new obsession, and also use the leftover small clothespins I had from the Advent calendar.  This was a slightly spur of the moment decision to make this so unfortunately I have no before/progress pictures (totally bad on my part for that one)!


To create the Christmas card holder, I took the piece of scrap wood (12 1/2" x 29 1/2") and put three coats of chalkboard paint on it.  I did this at night and the next morning, I seasoned the chalkboard with a light coat of chalk.  I wiped off the excess so it wasn't so dusty and white (I did this outside).  I placed the 8" boxwood wreath I purchased on Amazon in the center of the board, it came in a set of 6", 8", and 10".   To hang the wreath I used a command strip and hook on the back.


To write Joy on the chalkboard, I found a font I liked on Pinterest and used the transfer method to trace it on and then write over it with a chalk marker.  To add a little more festive cheer to the board, I spray painted the clothespins white first and then added some washi tape to the front, just like I did for the Advent calendar.


I really love how it turned out and love having something festive to display our Christmas cards on!!


How do you guys display your Christmas cards? I would love to see!!

Don't forget to check back later this week, I am sharing another project I completed this weekend and it involves glitter!!!

With much love,

Kristin


Follow on Bloglovin

Linking up with:
Place Of My Taste
Dwell Beautiful
Tatertots & Jello

Saturday, December 13, 2014

Holy Family Silhouettes

First off, I am so sorry I wasn't able to get my Friday Favorites post up yesterday.  I got stuck at the dealership with all the girls while they did some maintenance on our vehicle and was behind all day.

A few weeks ago, I mentioned that Jeremy and I were planning to do a friendly competition involving a silhouette of the Holy family.  It all started with a discussion at the dinner table on projects I wanted to do for Christmas.  When I mentioned doing a project with the Holy family, Jeremy mentioned something he wanted to do as well and why not turn it into a competion...so I said game on!  It was supposed to be an easy project for both of us and nothing to time consuming, and it also had to be made with things we already had around the house.  Well, I kept my end of the bargain, but my husband decided to up it 10+ notches with his awesome artistic abilities.  So without further ado, here are our projects in all their glory!


So, I am sure you can guess which one was mine...the chalkboard silhouette of course!!  At least I was creative to put it on a wood slice...can I get two points for that please!!


I will admit, Jeremy is most definitely awesome.  Jeremy's artistic abilities is just one of the many reasons why I love him.  I am the master of drawing stick figures so the girls will definitely have to ask their dad for help with their art projects.


For mine, I put a coat of chalkboard paint on the wood slice and then used the same transfer method I did on the Merry Christmas sign to transfer the silhouette.

So what do you guys think??

With much love,

Kristin


 Follow on Bloglovin

Linking up with:

Place Of My Taste

Tuesday, December 9, 2014

How To Make A Placemat Pillow

I am a huge lover of adorable and comfy pillows, especially Christmas pillows.  They are seriously the cutest, but then I look at the price tag.  I just can't pay $24.99 for a Christmas pillow.  So when I came across this post on making your own pillows from a placemat, I was SOLD!!  I have no sewing skills what so ever and I was able to do it.  I am 100% serious when I say I can't sew, my skills don't go past sewing a button.

On a recent trip to Target, I found two cute placemats that were on sale for $2.99 each.  (NOTE: The placemats do need to be double sided.)  Then I went over to JoAnn's since they had their poly-fil on sale for 40% off, which made it $5.99 a bag.  I bought two bags, but ended up only needing one bag for two pillows...can you say another placemat pillow is in my near future!!


I opened the stitch on one end big enough so I could put my arm in to fill up the pillow.


Then I got to stuffing my pillow with half a bag of the poly-fil (32 ounce bag).  I was able to stuff each placemat and sew them back up in a little over 30 minutes total!


I didn't think I could be this much in love with a pillow, but I just love how they turned out AND how super easy they really were!  You can bet no placemat is safe from me now!!  If I did my math correctly, I can make four placemat pillows for the price of one...holy moly that is beyond awesome!

I hope you all are having a splendid week...it is almost Friday!

With much love,

Kristin


Follow on Bloglovin

Monday, December 8, 2014

How To Transfer Letters To Chalkboard

A few weeks ago, I found some inspiration for my Advent calendar from another blogger.  During the process, Sarah at Thrifty Decor Chick shared an easy method to transfer an image to chalkboard, which she learned from this YouTube video.  I watched the video and it was super easy, but I was a little skeptical.  Well, let me tell you it was as easy as the video showed and it worked beautifully!!

Last year, I made a chalkboard frame from an 11x14 picture frame I purchased from Home Goods.  I simply painted a few coats of chalkboard paint on the glass frame and presto, an instant chalkboard is made!!  Last week during my search for some mantel inspiration, I found a Merry Christmas print and I really loved the font.  The printable was available for a free download, so I did just that and enlarged the print so I could use it for my transfer method.  After printing out the words, I flipped the paper over and covered the back with chalk.  I then used painter's tape to secure the word to my chalkboard and traced the letters with a pencil.  When I was done and pulled up the paper, I couldn't believe the word was there!!


Once I was done tracing, I filled the letters in with a chalk marker that I purchased last year from Hobby Lobby.  I am seriously in love with how easy this was and the possibilities are endless...totally opened up a whole new world for me!


In the middle of the frame I really wanted to put a boxwood wreath, but finding a 6" wreath was proving difficult.  I found one on Amazon, but it hasn't arrived yet.  In the meantime, I found this 6" wreath at Hobby Lobby for two dollars and gave it a really light coat of white spray paint.  Then I glued the little decoration on it, which was leftover from another wreath I had in my collection.


So, has this sparked any interest to transfer an image or letters for you??  I love chalkboard signs and always admire and wonder how the letters look so amazing.  Granted some people are just that amazingly talented, but for me this has sparked some new ideas for my little chalkboard frame!!

Don't forget to check back later this week, I am sharing how to make a placemat pillow...another super simple project!!

With much love,

Kristin


Follow on Bloglovin

Wednesday, December 3, 2014

Ten Christmas Mantel & Decor Ideas

This year I am struggling with decorating my mantel, more accurately struggling to just get started.  I am not sure why, but I feel like I am in a slump and can't vision what I want to do.  So, I have turned to Pinterest to find some inspiration and wanted to share with you all some of my favorites.  It was definitely hard picking just ten, but one of the common themes I was pulled towards was bringing in a more natural element.


One of the first mantels I was drawn to was at Nest of Posies, I loved the font for Merry Christmas and the simple beauty of her mantel.  And then it got even better when she included a free download of her Merry Christmas print!

SOURCE 
Janis at All Things Beautiful, did a beautiful job decorating not only her mantel, but her home!

SOURCE
 I found this beauty on a website that also includes 47 other inspiring mantels.

SOURCE

I actually purchased this as an art print from Lindsay Letters during her black Friday sale, so no doubt I am loving it!

SOURCE

Kate at Centsational Girl always has impeccable taste and she has quite a few mantels that caught my eye.

SOURCE
I love boxwood wreaths and absolutely love the simple elegance this wreath brings to anywhere really.

SOURCE
Here is another wreath that I am loving too and all the natural elements Jen brought in to her decor!  I am really loving the mirror as well!!  I can't say enough about Jen at City Farmhouse, I always love reading her blog and the inspiration I can find there.

SOURCE
I absolutely love how festive and colorful this mantel is, and it really makes me want to make an ornament wreath or maybe even garland!!

SOURCE


I am kinda getting obsessed with burlap lately...maybe a little late to that trend, but oh well!  Here are two cute ways to add some burlap to your mantel. 

SOURCE

SOURCE
Hopefully you found some inspiration from these just as much as I did, and hopefully I will be able to show you my mantel soon!!  Keep your fingers crossed! 

With much love, 

Kristin 


Follow on Bloglovin

Sunday, November 30, 2014

Advent Calendar: Pottery Barn Kids Knockoff

Last year I really wanted to make an Advent calendar for the girls, but I never got off my bum to make one.  This year, I saw one on a blogger's site, Sarah at Thrifty Decor Chick, that I loved and hers was inspired from Pottery Barn Kids.  Well, we have plenty of scrap wood out in the garage, so I went straight to my husband to ask him if we had a board I could use.  I was in luck, he had a piece of maple plywood that was 8 feet long and 10 1/2 inches wide!  I didn't need it that long, so Jeremy cut it down to 63 inches in length and then I got to work.


I did have to buy a few supplies from Hobby Lobby, but I was in luck since almost everything I bought was 50% off!!!  There were a couple of options for the numbers and letters, like using my silhouette to cut out the letters, or a stencil, but I decided to just buy the letters and numbers since they were 50% off.  I wanted the smaller clothespins, so I picked up a bag at Hobby Lobby.  The clothespins were the only thing not on sale so I used my 40% off coupon, which made them $1.75.  I wanted to jazz up the clothespins a bit so I sprayed them first with white spray paint and then covered the face with washi tape, that I also picked up at Hobby Lobby.  I did have to purchase the cotton muslin bags as well, which I got them off of Amazon.


Once the board was cut to size, gave it a light sanding and wiped it down.  Then using some leftover gray paint (Sherwin Williams Grayish), I put three light coats on the top and sides of the board and then gave it a light sanding again.  I let that dry for a few hours...actually I went to see Hunger Games: Mockingjay Part 1, which was AWESOME!!


Anywho, the next step was to put the glaze on top to create a little something something!  I used the same glaze we used on our patio table, Rust-oleum Decorative Glaze in Java Brown.  I brushed on one coat using a foam brush, and then wiped off the excess with an old t-shirt.  I wanted it to look a little darker, so I applied a second coat and wiped off the excess again.

The next morning I applied the sticker letters and then moved on to the clothespins.  My nerdy engineer side came out so everything would be straight as you can see in the picture below!  :)  I used a very small amount of wood glue to adhere the clothespins to the board.


I forgot to mention that before I put everything on the board, Jeremy put the hardware on the back to hang it on the wall.  He put three of these hooks on the board.  When it came time to hang the board, we put a dab of toothpaste on each one and then pressed the board to the wall so it would mark where to put our nails.


The last thing I did was to add some holly to make it a little more festive.  I really wanted a silhouette of the Holy Family, but for now this was easy peasy and 50% off.  I put a dab of wood glue on the holly and stuck it right on the board.


Each bag is filled with a few lines about the story of Christmas and a piece of candy for each girl.  As we countdown to Christmas, the girls will have read about the birth of Jesus and the visit from the Wisemen.  I found a free printable that had the story of Christmas, which I printed at home and cut out.  There are tons of different options, free options, that you could fill the bags with - the ideas are endless.      


Here is a picture of the Pottery Barn Kids version, which is currently on sale right now.

SOURCE 
And compared to mine.


The Pottery Barn version is originally $149, but I was able to make mine for $15!!  I did have a few supplies already, like the board and paint/glaze, but if you had to purchase those items it would still be way under the Pottery Barn version.  And you can say it was made by love from you!

I hope your Christmas and Advent season is off to a great start.  Jeremy and I were talking at the dinner table tonight about each of us creating a project with a silhouette of the Holy family and then letting you guys vote on the best one...hint, hint...MINE of course!!  So stay tuned for our projects hopefully later this week!

With much love,

Kristin

Follow on Bloglovin

Linking up with:

Place Of My Taste