For starters, we made a trip to Ikea to purchase an inexpensive raw pine dresser with a price tag of only $34.99 each!! Start that happy dance now!
 |
| { via } |
We purchased two of the Rast dressers with plans to stack them and then build a bookcase and shelving on top. My hubbie drew up a sketch so we could visually see what our vision will look like!!
The dark line on top of the dressers will be a pine topper that we plan to attach to give the dressers a little more substance, as well as what we will assemble the bookcase on. The two dark shaded lines further up the drawing will be the clothing rods, we will be reusing the previous clothing rod so saving some money there!! One of the things we love about this design is the shelving space it gives us as well as the amount of drawers to fill with the little ones clothes.
So far, we have done the prep work on the dressers (sanding and painting) and have installed them in the closet. Before I show you them installed in the closet, let me walk you through the process of the initial prep work.
I had read a couple different tips in the blog world about preventing the knots from bleeding through the paint. I used wood filler to putty over the knots and then once dry I sanded it all down using a palm sander for the coarse sanding and then by hand for the fine sanding. Definitely not my favorite task of this project since it was time consuming, but so far I haven't seen any bleed-through. Once that was complete, it was time to start painting. I used Behr Premium Plus Ultra Hazelnut Cream in a semi-gloss finish. We had previously used this type of paint, which is a paint + primer combo, on our shelves in our coat closet and have not seen any issues. Here is a photo of the painting in progress after one coat. I will admit I was initially scared after this first coat thinking it wasn't going to work, but after three coats it is looking pretty and glossy!
While I was painting, my hubbie was prepping the closet. After removing the existing shelf, there was some slight damage to the texture on the wall. We are no experts by any means when it comes to texturing, but decided to try our hand using a spray-on drywall texture purchased from Lowe's. Jeremy sprayed the texture on the walls and then lightly knocked it down.
Like I said, we are no experts, but for texture out of can we are extremely pleased with the results. After letting the texture dry overnight, we painted over it with the original color, Sherwin Williams Kilim Beige.
Before the dressers could be attached to the wall, they needed a little more support on the back in order to give us something substantial to attach to the wall. Jeremy added a 1x6 cut to the height of the dresser on the back side.
This will allow for the necessary support when screwed into the studs in the closet. We put more putty on the grooves, sanded it all down and then painted each side.
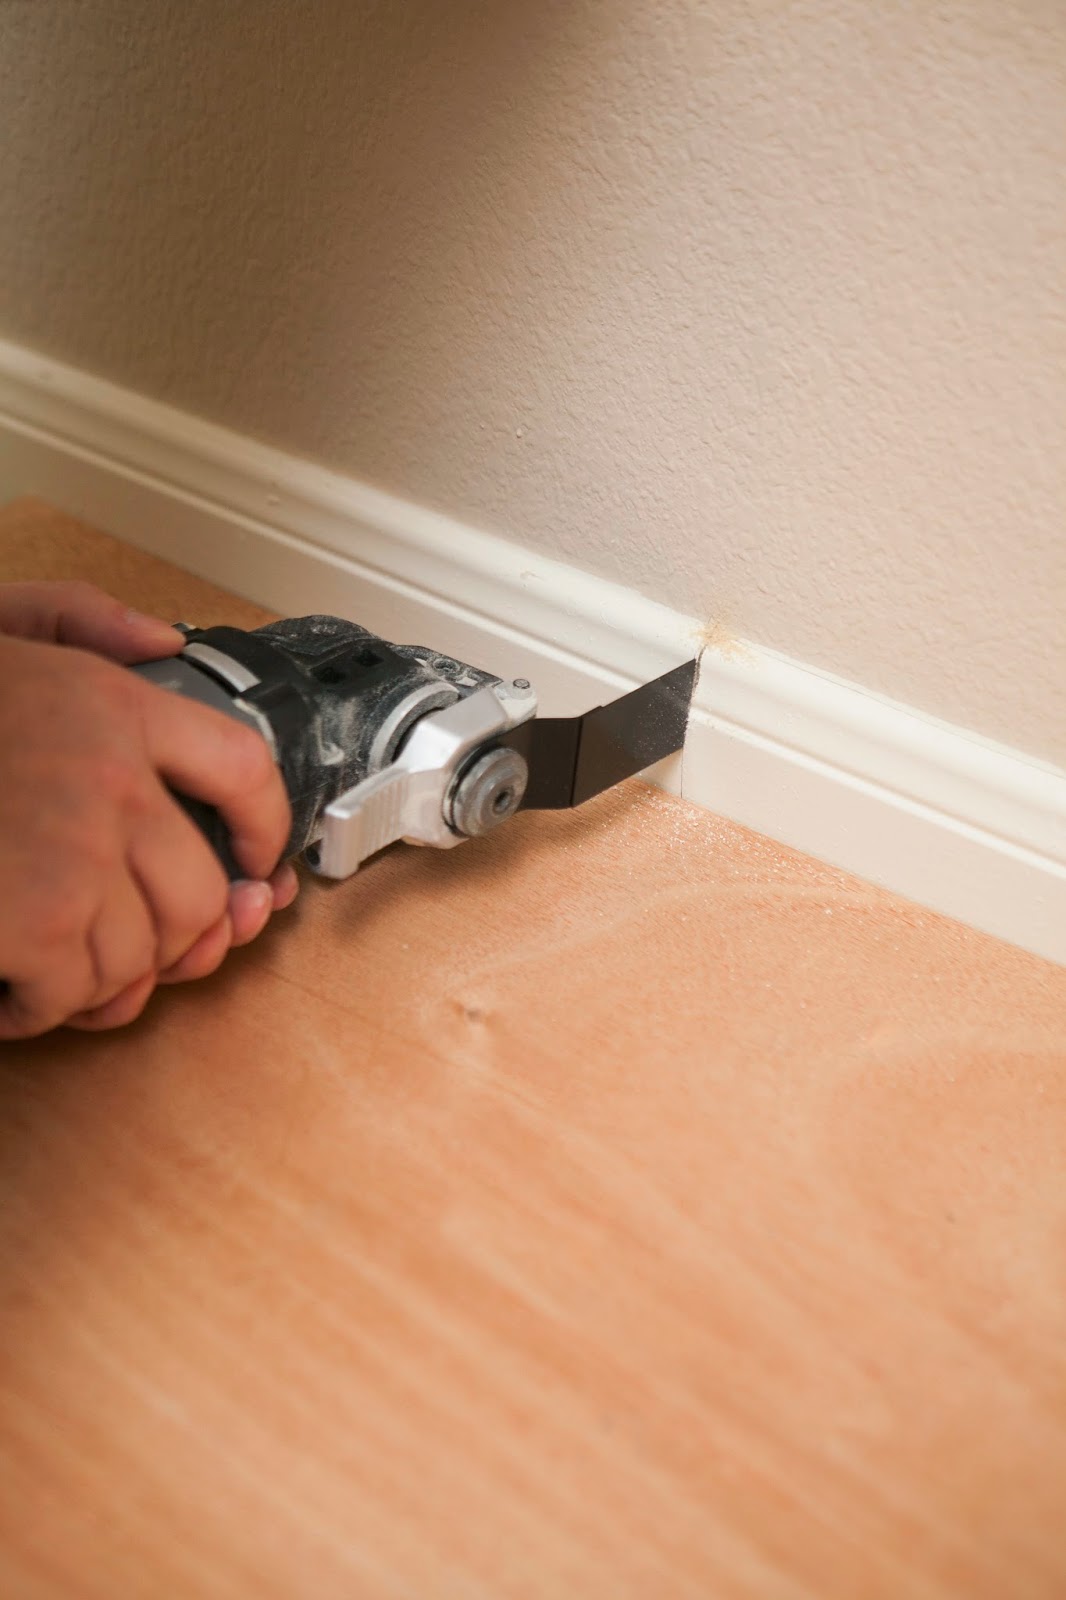
Pretty impressed myself...you can hardly tell it isn't one piece!! From here these bad boys were brought upstairs to be attached to the wall. We want to create the built-in look, so first we had to cut out a portion of the baseboard. First step, mark the desired placement of your dresser. Then, Jeremy used his Porter Cable oscillating multi-tool to cut the baseboard. We put a piece of spare wood down to protect the carpet, which ended up being un-necessary due to a future decision made to remove the carpet.
Then using an utility knife to cut the caulk from the wall, which makes it a little easier to pry it off the wall.
After a little wiggle and a jiggle the baseboard was free!! We placed the dresser in its new spot, but we weren't really liking how it looked sitting on top of the carpet...wasn't really creating the whole built-in look. So we decided to cut out the carpet that the dresser would sit on. Using the multi-tool again he was able to easily and quickly cut out the carpet.
Now it was finally time to secure these babies to the wall. Luckily there was one stud on the right side so Jeremy put four screws into the wall and that dresser isn't moving.
The second dresser was placed on top and went through the same process to secure it to the wall. Now, I could add the drawers!!
To save some money on the knobs, which boy can those things get expensive, I painted them a pretty coral color (Sherwin Williams Gladiola). To give me the desired look I wanted, I put four thin coats on each knob and then sprayed them with a clear gloss enamel. Word of advice for attaching the knobs, do not use the screws provided by Ikea!! We had on hand self tapping screws which made the job 100 times easier!
We still have a lot of work ahead of us, but definitely feeling accomplished to get the dressers painted and installed. We have purchased the wood for the shelving, pine topper for the dresser and the baseboard...next step to get them painted and installed!
Anyone tackling a closet system??
With much love,
Kristin


No comments:
Post a Comment
Thank you for taking the time to leave a comment! All comments are moderated and might take a moment to appear.