
And boy did I find lots of inspiration!! My favorite was probably this one on Pinterest that not only had the wood stain I was looking for, but was the perfect size and price!
This blog, Shanty 2 Chic, has tons of pictures and great instructions for how to build the shelves. They also link the original plans to Ana White for the design of the ten dollar ledges. Ana White also has a video tutorial, which is extremely helpful! Now here is where I take my plan to my wonderful and amazingly talented hubbie. I tell him look how much money we can save by just making these shelves ourselves and that I even found a tutorial and design plans for him. All he had to do was find the time after his daytime job to make the shelves and I would wrangle the kiddos.
We did make a few slight changes to the shelves from the original design, mainly we decided to go with red oak as opposed to pine. For the stain, we chose Rust-Oleum Wood Stain in Dark Walnut.
 |
| {via} |
For the bathroom shelves, I didn't want them to stick out too much, so we decided to go with a 1'x3' board. We purchased two 1'x3'x6' red oak boards and one 1'x2'x6 red oak board at Lowe's for $26. We were able to make two full boards for the bathroom at two feet long each. We plan to install the other one in the downstairs bathroom. The remaining boards would make a shelf that is slightly less than two feet, so we added that to our scrap wood pile. Unfortunately, the shelves were made a while back (aka before the blog) and we don't have any before pictures. However, here is a picture of the boards we purchased from Lowe's.
 |
| {via} |
Since he used his Kreg Jig to assemble the shelf, he wanted to plug up the holes. Once the plugs are in, he then sanded everything down (*note - red oak takes a little more effort for the sanding process). Before staining the shelf with two coats, he made sure to wipe it clean to remove any dust. Look how pretty it looks stained and installed :)

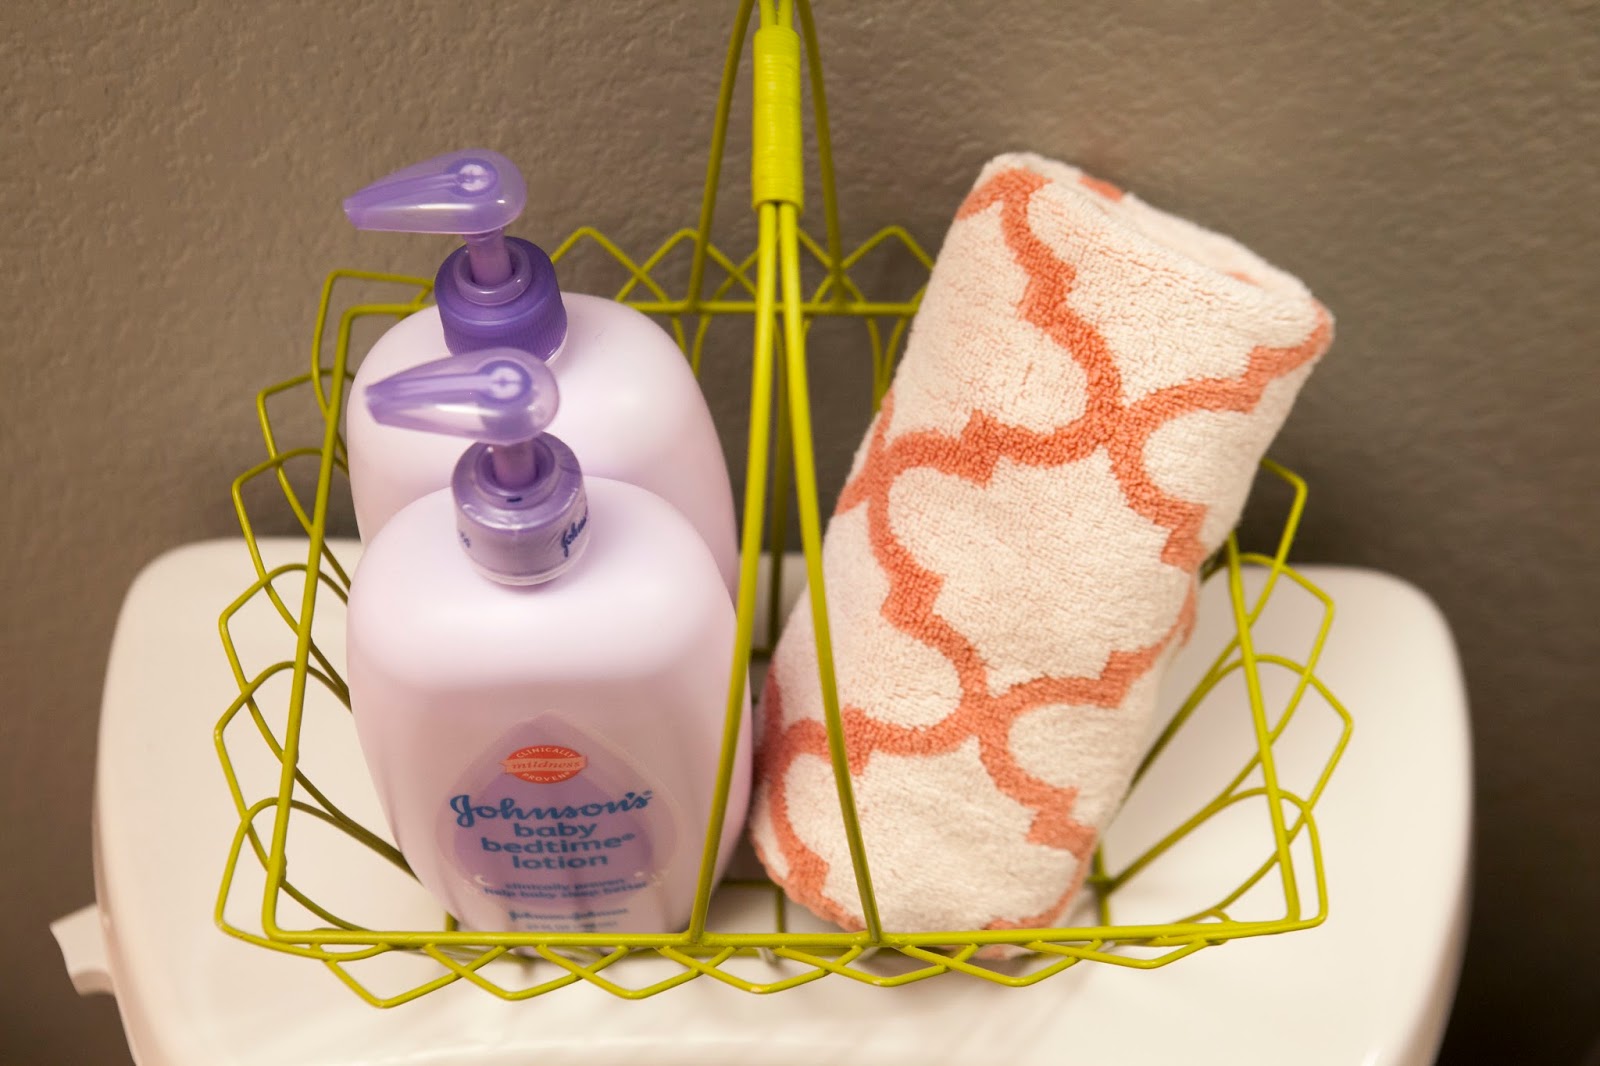
Although, I love gray and pink, I wanted to add a splash of green to the bathroom...I do love me some green! I used one of the girl's Easter baskets to corral the bath soap and lotion and an extra hand towel. I love how it adds a little more color to the room.
And how about one more picture of it all together :)

Stay tuned for the next bathroom reveal to see the whole shebang! Happy Monday to all!!
With much love,
Kristin

No comments:
Post a Comment
Thank you for taking the time to leave a comment! All comments are moderated and might take a moment to appear.