
My wheels have been turning to figure out creative ways to bring fun activities into the playroom for the girls. I wanted an area in the playroom for us to draw and color, but I was concerned about taking up too much space with a table. The spot I had in mind was near the reading nook, but I didn't want the area to get too crowded. I did however, have tons of blank wall space and what better way to fill it than by making our very own chalkboard.

This is a super easy project that can be completed in a day, or with the kiddos around maybe two days! Here are the supplies you will need:
- Masonite board (we had Lowe's cut it down to size for us): $9
- Trim (we bought a 7' board and a 10' board of trim due to the size): $13
- Tinted primer or leftover dark paint from a previous project: $0
- Rustoleum or Valspar Latex Chalkboard Paint: $10
- Foam roller: $5
- Nail gun: $0
- Wood filler: $0
- Spray paint for the trim: $5
- TOTAL: $42
We purchased all of our supplies at Lowe's, but any home improvement store should have all the necessary supplies. Although some products were purchased for this project, there were plenty leftovers for future products like the chalkboard paint and masonite board. We went with a masonite board since it is light weight and has a smooth surface. The board only comes in a 4'x8' piece so we went ahead and had Lowe's cut it down to size for us and then put the scrap pieces in the garage. Our chalkboard is 3'x4'9". Originally we were going for a 3'x5' chalkboard, but the trim we wanted came in 7' and 10' sections so my hubbie had them cut it down slightly smaller.
Once the board was cut to size it was just a matter of finding the spot on the wall and then securing it into the studs. We made sure our boards width was wide enough so we could secure it into the studs.

After it was secured to the wall, thanks to my hubbie, I put the base coat of primer on it. We had leftover gray paint from the bathroom so I just used that. It went on super smooth and didn't need a whole lot of it either.


This time we used Valspar and we were super pleased with it. We have also used Rust-o-leum Chalkboard Paint and I would recommend both products. Well, after two coats of chalkboard paint we called it a night. The next morning, while I was playing with the girls', my husband spray painted the trim. We purchased two boards of already primed trim - a 7' board and a 10' board. Unfortunately we forgot to snap some before pictures of the trim, but here is the spray paint I used.

I had purchased the spray paint for some outdoor projects, which I still plan to do, but I absolutely adore this color so decided to use it on the trim. After seeing it on the trim, I LOVE it even more!!! My husband applied two coats to the trim and used a nail gun to instal the trim. Once the trim was up, we put a tiny amount of wood filler in the holes and on the corner pieces. The directions on the tube said to let it dry for two hours....that seemed like an eternity to me. However, I waited the allotted time because I am a rule follower :) Once it was dry, my husband sprayed some of the spray paint in a little plastic container and we used a small paint brush to cover up the wood filler.

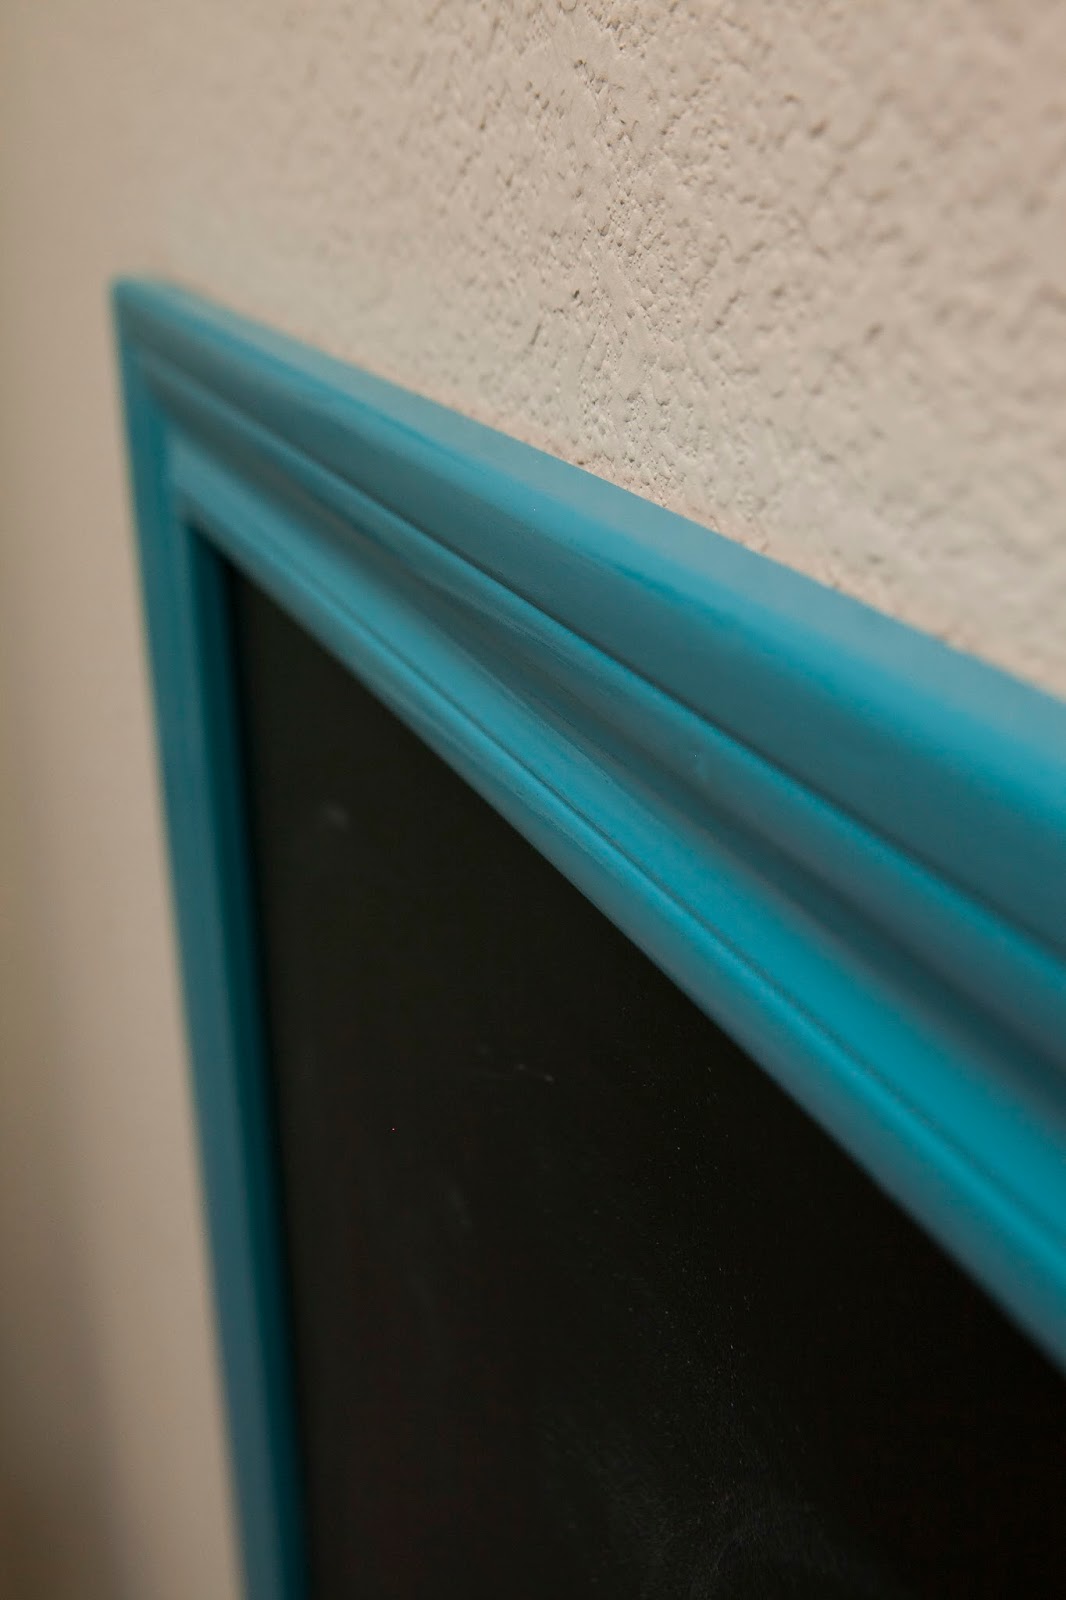
As you can imagine, this is my new favorite spot in the playroom. I am so giddy over this chalkboard and even more giddy on how easy it was to install. The chalk easily wipes off with a wet rag too!

For now the main use for the chalkboard is to draw and make award winning art, but in the future we plan to use this for the girls' lessons. Of course it will always be used for fun, but also has its functional purposes! I also have plans for the empty wall space above the chalkboard - thinking of a way to display the girls artwork. Here are some inspirational photos I have been looking at on Pinterest here and here.

On the right we have a beautiful abstract a la 21 month and three year old!!! Don't you just love it, or maybe it is the artwork only a parent could love :)
With much love,
Kristin
P.S. Don't forget to check tomorrow's post!! I am going to be introducing a new tradition to the blog for Friday called Food For Thought. Yes, I literally mean food, it is one of my passions!


No comments:
Post a Comment
Thank you for taking the time to leave a comment! All comments are moderated and might take a moment to appear.