
If you follow me on Instagram, I shared the beginnings of this project. Sorry for the iPhone photo, it was another late night project after the girls went to bed.

I decided not to tape off the mirror prior to painting and applied three light coats of Sherwin Williams Forget Me Not. After it all dried, the next morning I used an Exacto knife to remove the excess paint on the mirror itself, which actually took me less than 10 minutes. This was super easy and left the mirror with no paint residue, plus it saved me the time of having to tape off this design.


When the girls came downstairs that morning, they both exclaimed how beautiful it was and even told me it was awesome...totally warmed my heart!! This mirror was originally planned to hang with the rest of the pictures for their upcoming gallery wall, but it wouldn't be low enough for the girls to check themselves out in :) So I moved it to another wall and decided to pair it with the jewelry organizer I was working on for them.
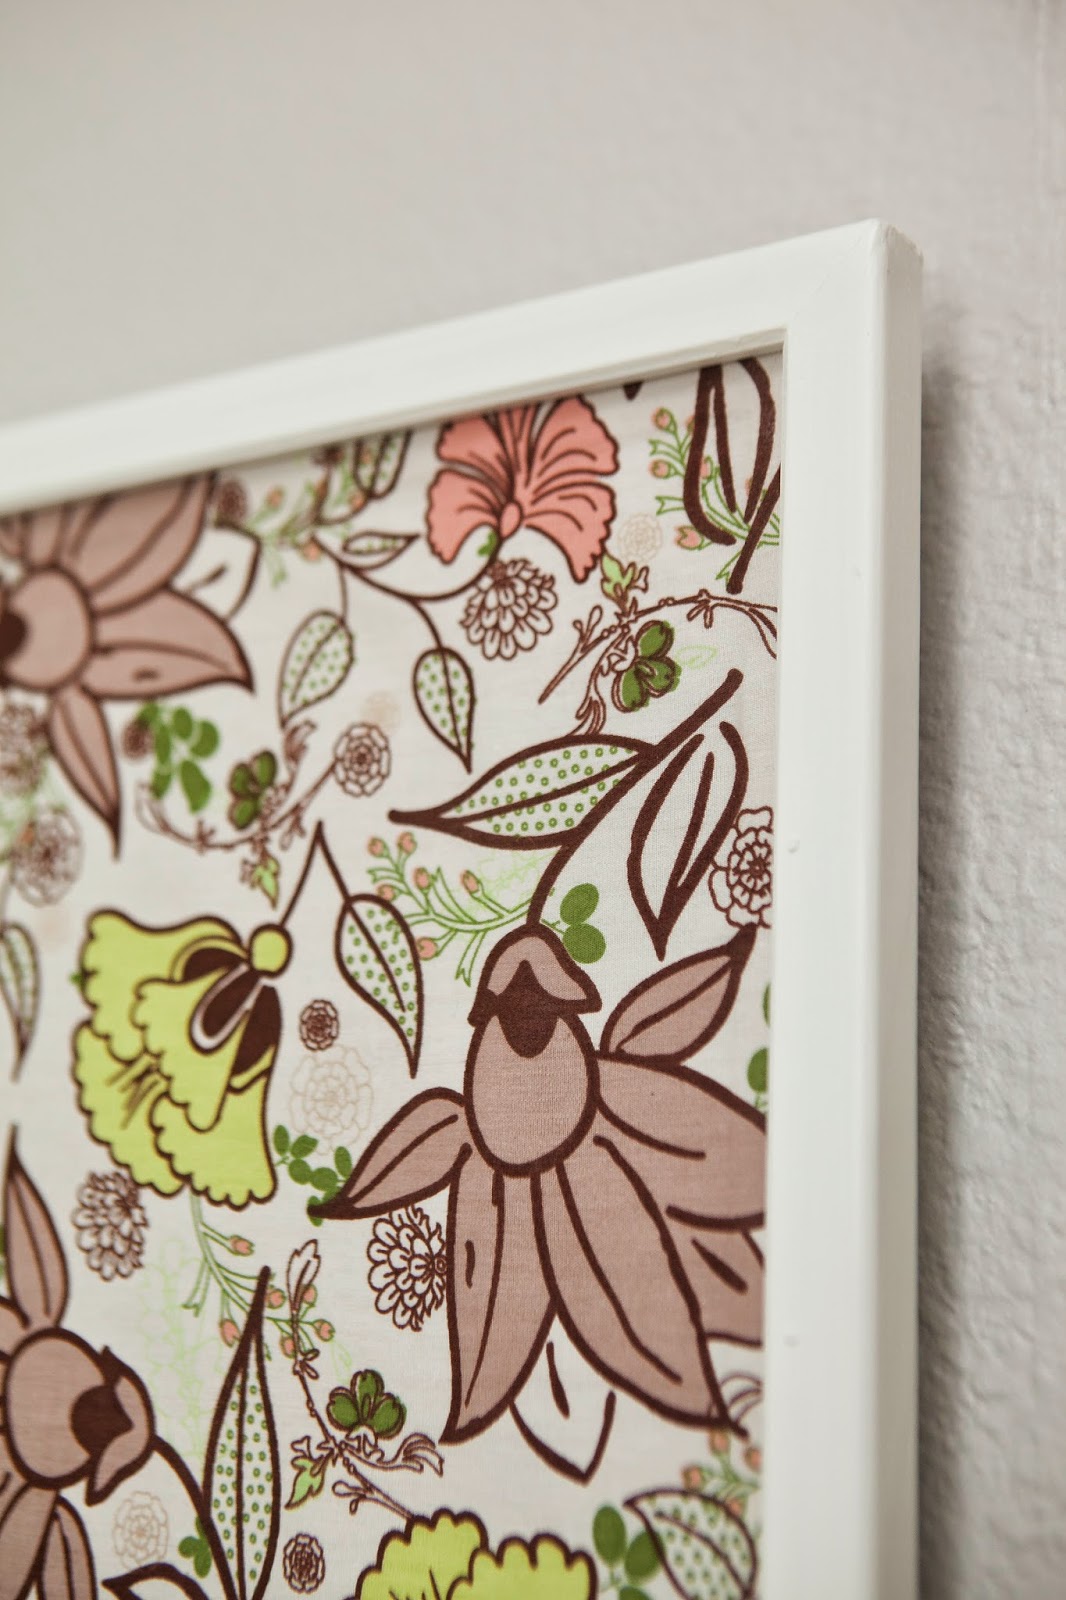
This jewelry organizer started with a simple cork board I found at Target and jazzed it up with some fabric that the girls' picked out (with a little guidance from momma). To adhere the fabric to the cork board I used a spray adhesive. After ironing the fabric, I sprayed the cork board with the spray adhesive and laid the fabric right on top. I smoothed out any wrinkles and wrapped the fabric over the edge. I wasn't too concerned with the edge since I was planning to cover it with trim.


Once it was all nailed down, I put caulk on the corners and then used a little bit of caulk to fill the nail holes. I gave those areas a light sanding...and I mean very light sanding with 320 sandpaper. This is where things started going to the poo for me. With that light sanding it pretty much took off the spray paint in those areas. So I had to figure out a way to correct that without damaging my fabric. First, I gave everything a complete light sanding and then decided to paint the entire trim with some white paint we had leftover from another project. Now everything was looking pretty again and it was time to hang the mirror and cork board. We put fish eye hooks and wire on the back of the cork board to be able to hang it up.

I purchased some round pearl top pins from JoAnn's and with a 50% off coupon I had, it made these babies only $2.50!! I laid out what jewelry and head bands the girls had and then placed my push pins into the cork board.


The girls are loving this new little spot in their room and I have definitely caught them checking themselves out in the morning :)


With much love,
Kristin

No comments:
Post a Comment
Thank you for taking the time to leave a comment! All comments are moderated and might take a moment to appear.