Showing posts with label Organization. Show all posts

Wednesday, January 28, 2015

Kitchen & Laundry Room Organized

Well, I finally got the kitchen cabinets all cleaned out and organized.  I found once I started sorting through everything it was a little easier to get rid of things I didn't need anymore.  I managed to actually sell a few pieces and donated the rest of the items.  Before I started filling up the cabinets, I did put some thought into where was the best place for each item based off of our habits and needs.

For example, I do most of the prep work like chopping at the kitchen island, so moving the knifes to a drawer over there made the most sense for us.


The knife organizer was purchased at The Container Store last year and I am still in love with it.  It has been a tremendous help to have all the knives and other cutting tools in one drawer.  The drawer right next to it holds all the other kitchen gadgets.  A drawer that used to hold utensils, now holds our drink accessories and tools, which you can see in the top right picture above.  As for the utensils, I put them right next to the stove in an utensil holder so they are all in one place now.

One of the things I am most giddy about is my new spice drawer.  All of our spices used to be in a cabinet and it was seriously becoming the black hole of spices.  I have been searching for some time now on how best to organize all of our spices, but I knew I did not want them on the counter.  I really, really wanted them in a drawer, but was having trouble finding ones that would fit until I found some inspiration on A Bowl Full Of Lemons.  I snatched up the same spice jars on Amazon and got to organizing as soon as they arrived.  I also found a free printable through Pinterest for the spice jar labels.


I put the spices in the drawer to the left of the stove and then all the measuring spoons and cups in the really small drawer to the right of the stove.  There are a few spices I buy in bulk, so I put those in the old spice cabinet.


Although, I cleaned out and organized all the cabinets I decided to only post pictures of what I thought were the highlights and displayed some practical organizing tips.  I purchased this bakeware organizer on Amazon about 6 months ago and I am not sure why I didn't buy it sooner...I love how it neatly displays our baking sheets.


I also purchased a few clear command hooks and strips to hang my pot holders...although I should probably purchase some new pot holders since these are looking a bit shabby!  I have the other pot holders on another hook on the cabinet door where I store the pots and pans.  Both of these cabinets are right next to the stove/oven.

Although organizing the tupperware isn't the prettiest, I wanted to share how I was able to hang the strainer with a command hook.


I used the same hooks to hold the cutting boards on the inside of the cabinet doors of the kitchen island.  So now I have the knives and cutting boards all located at the kitchen island!

We downsized a few of our glasses and coffee mugs and were able to fit all plates, bowls, and glasses in one cabinet.  And in the other cabinet, I put all of our plastic plates, cups, and bowls, which are mainly used by the girls.


That pretty much highlights the kitchen, but I wanted to share with you how the laundry room turned out.  A few years ago, my husband put cabinets above our washer and dryer and made a shelf to go right above the washer and dryer.  They have both been a tremendous game changer for that area, but were never used the best.  Last spring I changed out the majority of our home cleaners to natural cleaners and I am still in love with it all.  Because of that I was able to make one cabinet all cleaners and cleaner products, which has left the other cabinet completely open for future use!!


So the cabinet on the left side holds all the supplies to make the natural cleaners and the one of the right is empty for now!  On the shelf, it holds a laundry cheat sheet that I framed as well as my homemade laundry detergent in the yellow bin.  Then I have a bowl for loose change, some clothespins and a little cup for chalk (which is used on our chalkboard menu).  The empty bin labeled 'dirty' is for the used microfiber rags that I clean everything with.  Then last but not least, are my little collection of Food Network magazines.


So, how are you guys doing on the home organizing challenge??  This week is the pantry, so I will be cleaning and purging that next!!

With much love,

Kristin


Follow on Bloglovin

Monday, September 15, 2014

Entryway Drop Zone

Another project I started before Emma's arrival was to organize our entryway table and make it more functional for our family.  It is still in progress, but I wanted to share with you all what I have set up.


Something that is a continual battle for us is the pile of papers...it is never ending!!  I have tried several organizing solutions and they have ultimately failed for us.  I feel they have failed for us because we didn't invest in the time to think about our daily habits and how areas in our home were being used.  So back to the drawing board again, but this time I started taking notes on how we used certain areas in our home and what habits we developed.

One of the biggest things I noticed was that we were entering our home through the front door as opposed to the garage door like it was in the past.  We had already converted our downstairs closet into a mini mudroom, where we keep our daily shoes, coats (when needed), etc.  Now, I felt we needed a drop zone right at the entrance.  We already had this great table at the entrance, technically it is a buffet table from Ikea, but for us it is our entryway table.  Now of course, I didn't want this area to become the "drop everything when you walk in the front door area," so I have come up with a "system" that is working really well for us.

Since our biggest problem was the mail and what to do with the ever growing pile, I want to focus on that for today's post.  I wanted a holding place for the mail until I was able to sort through it properly, which is usually when the girls are napping or after bedtime.  In order for it to work for me, it has to be easily accessible and done quickly.  After checking the mail, I do a quick sort through it and immediately take out the junk mail and shred it.  We moved our shredder into the kitchen a while back and that is about the one thing that has been working for us.  What is left is placed in a bin on top of the table until later that day or the next.

Now what is left is usually the grocery ads, magazines, and bills.  Most of our bills are electronic so that has definitely helped on managing the paper piles, but those that are still paper are placed in my home binder.  The magazines are in a basket next to the table, so that really only leaves the grocery ads and a few other things.  Let's talk about the bin on top of the table.  I purchased a wooden bin at Home Goods on clearance a little over a month ago, it wasn't the perfect color for me, but nothing spray paint couldn't fix!!  


The color I was originally thinking of going with wasn't a paint+primer combo, but I did have a white semi-gloss that did have a primer built-in.  So I decided to put a coat of that spray paint on first and see if I wanted to keep it white or use the other color I had leftover as well.  I did like the white, but in the end I wanted a little more color in the entryway.


After that first coat of primer dried, I sprayed two thin coats of my favorite spray paint color - of course letting it dry about 20 minutes in between each coat.


I should probably find a new spray paint color obsession, but why fix what isn't broken (at least for me)!!


The yellow chevron tray is used to not only hold my sunglasses, but also a spot for the outgoing mail.  The spot makes it easy to quickly grab and go, and I can't leave without my shades!

Here is a full shot of the entryway table so you can get an idea of where everything is placed.


I do need to dwindle down my pile of magazines and I am slowly working on that, but for now they have a nice little spot.  Some of the magazines I will probably never be able to part with it and that is definitely my Better Homes & Garden Storage ones....I just love looking at their covers #dorkalert!!

On my trip to Home Goods, I also found this cute little bowl and thought it would be perfect to hide/hold my chapstick and ponytails.  I typically need both in an accessible spot (home of all girls except for my hubbie)!


That only leaves the lamp, which I just absolutely love.  I know #dorkalert again, but I am really crushing on Navy and Teal right now.  So I wanted to bring in a navy lamp that I have had my eye on for some time at Target.  And to top it off, I found a lamp shade for it that was on clearance...score one for this momma!!


I am also loving the soft touch of gold for the base of the lamp, although nobody tell that to my twenty year old self!!  So, what solutions are working for you when it comes to paper piles??  Please share!!!

With much love,

Kristin


Follow on Bloglovin

Wednesday, March 19, 2014

Spring Cleaning: Cleaning Out The Fridge

My fingers have been itching to get started on building the closet in the nursery, but our plans have been slightly delayed and soon hope to be back on track to get that closet completed!!  In the mean time, I have put my itchy fingers to good use and got an early start on my spring cleaning.  One of my favorite bloggers, Jen at I Heart Organizing, has been doing a monthly clean home challenge and that has really been motivating me to get more done each day.

Earlier this week, I decided to tackle the fridge.  When I opened up the fridge, it was stockpiled with lots of containers for leftovers.  At one time I was pretty good at cleaning out the fridge at least once a week...at least cleaning out the leftover containers, but time has gotten away from me the last few weeks.

So for starters, I took out all of the leftovers and cleaned out the containers.  Then I cleared out the rest of the fridge so I could give the shelves a good wipe down.  To clean the fridge I use a spray bottle mixture of 1 cup of distilled water and 1 cup of vinegar with a microfiber cloth.  I have been wiping down my counters and cabinets in the kitchen with a microfiber cloth for a few months now and I love them!!!


Once the fridge was cleaned, I started sorting things and putting them back in the fridge and I noticed we had almost two shelves empty since the leftovers were cleared out.  We are very fortunate to have  two fridges, one is out in the garage, and we normally store our drinks, yogurts and some of the girls' snacks out there.  The bad thing, things weren't being eaten and basically wasting money :(  So I decided to bring some of those things inside and leave the garage fridge for the leftovers and extra drinks.  I do a weekly meal planning so theoretically I know when we will be having leftovers so hopefully they won't be forgotten out there!!


I purchased a few medium bins from The Container Store to store yogurts and the others are currently being used in the freezer.  Added bonus, these babies are currently on sale at The Container Store!!!

We are in the process of changing the girls' juices so typically there won't be two different brands.  Once they finish off the Fruitables, I will be able to put more of the Honest Kids or maybe something else in that spot.  (P.S. sorry for the iPhone photo)


Eventually I would like to get shallow bins for things like applesauce and cheesesticks, but for now I just used a few tupperware containers.  As for the side door, I cleared out the expired jars and wiped everything down.


Anyone else tackling some spring cleaning??

With much love,

Kristin


Follow on Bloglovin

Thursday, February 20, 2014

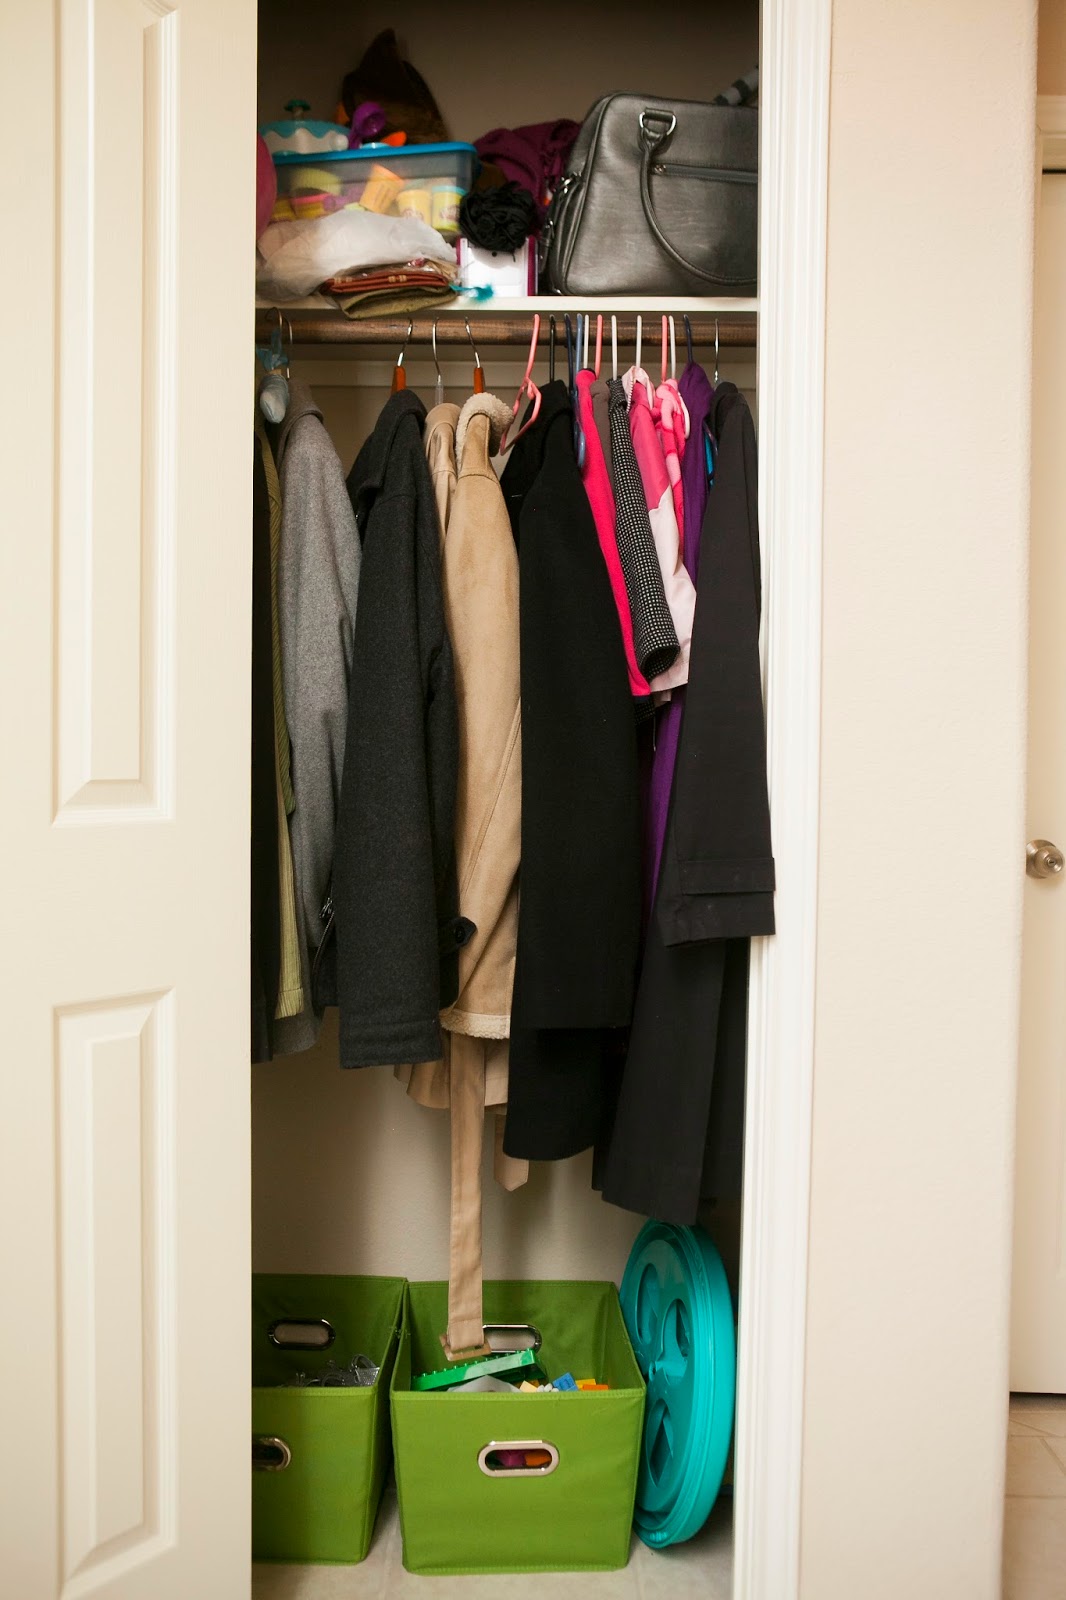
Coat Closet Finale

Phew…it has been a couple of crazy days around here, but the coat closet is finally finished and ready for the big reveal!!!  Just like any DIY project we had a few bumps along the way, but the end result of this closet has me grinning ear to ear.  I can take credit for the pretty bins and baskets, but everything else is due to my most awesome husband!


Notice those awesome bins and baskets!!!  I have been eyeing the stripped canvas baskets at the bottom for about six months at The Container Store and lucky me I had a gift card so you can bet I put that baby to use!!  They are the small ones for only $9.99 each and I love the rope handle.


Currently, we have toys in both baskets so the girls have some toys to play with downstairs as well, but the possibilities are endless on what we can use them for in the future.  Enough about the baskets, let's get to the real beauty of this closet…the shelves and cubbies!

Originally, the closet had one shelf up top and a clothing rod underneath it…not much going on in there except extreme clutter.  So Jeremy removed the clothing rod and put up bead board.  From there he built a cubby system that could be used to store bins with scarves, hats, etc.  We also decided to add two shelves near the bottom to hold some of our most worn shoes. 


To make it look more cohesive, we added bead board to the top two cubbies as well.  While we waited for the coat hooks to arrive, the bead board and shelves all got a few coats of paint.  Finally the hooks arrived from Amazon.  I ordered five hooks with the plan to put them inside the closet, but once we started installing them it seemed too crowded.  Change of plans, we put four inside the closet and added the remaining one to the door for our coats.


We added a piece of 1x4 pine board, that we stained, all around the closet and then installed the hooks onto the board.  Jeremy stained the boards using a slightly different method this time and we are both in love with the result.  After sanding down the board and wiping clean, Jeremy used a pre-stain wood conditioner prior to staining (the conditioner is for soft woods and helps prevent a blotchy stain).  Then applied two coats of Rust-oleum Ultimate Wood Stain in Dark Walnut using an old white t-shirt.

There were no studs in the closet, so to secure the hooks to the 1x4, we used E-Z Anchors for Drywall that holds up to 50 pounds.


Now it was time to start to using the hooks, shelves and cubbies!!!  For the cubbies, I purchased four medium Kiva bins from The Container Store and are currently holding my scarves, girls' hats, and play doh.  I am sure you can guess the item that seems out of place, but all the little containers fit perfectly in a bin and easy access when momma is ready for the play-doh to come out.  The remaining bin is currently empty, but I am sure in due time I will find the perfect item.

Since we had an extra hook, we put it on the inside of the door to hang our coats on.  During the "winter" months we plan to have our coats hanging on the hook and in our master closet for the rest of the year.  Since the door is hollow, we used an E-Z Anchor for hollow doors that holds up to 40 pounds.


I put the girls' shoes on the top shelf and our shoes are on the bottom shelf.  Since the lower shelves are almost 17 inches deep I can put two rows of their shoes on it, which is a definite plus since they like to have options :)


Unfortunately I don't have an exact breakdown of our spending for the closet since some of the wood and paint we had leftover from previous projects.  The most expensive item from the closet is the bead board and I would say was definitely a splurge for this project.  A fair estimate with the bead board, puts the cost of the lumber and hooks around $180.

To get the complete transformation of the closet lets see a before and after picture.


If you could see me now, I am grinning ear to ear over here just looking at the picture!!  Hope you all have had an awesome week and remember the weekend is almost here!!!

With much love,

Kristin

Follow on Bloglovin

  I party with Remodelaholic

Thursday, January 30, 2014

Coat Closet Part 2

I have a small update on the coat closet for you guys!!!  My hubby has been working hard during the evening hours to finish up all the woodwork for the closet.


He added the top cubby to the existing shelf using the same material and method as the first one.  All cubbies are 6.5 inches in height and I already have the perfect bins ready to be put to use.


The second thing that was done, was to add a 1x2 board to the front of each shelf.  Next up for this closet is painting…that is where I step in!!!  I am armed with my paint brush, roller, and Behr Powdered Snow.  Once all the painting is done, we will add the 1x3 board on each wall, which will be used to hold the hooks for coats and backpacks.  The finish line is in sight and I can't wait!!!

With much love,

Kristin


Follow on Bloglovin